Photo: C. Morillo, Unsplash

Each year, my team has a project that begins something like this: “Yeah, we have photos/videos of that. But we don’t exactly know how to find them.”

We are all awash in content. Every time you hire an event photographer you end up with thousands of photos. Every time you produce a video, you end up with hundreds of minutes of interviews. But to adapt an old saying, if a chunk of content lives on your network and no one knows how to find it… Yeah, exactly. So kick off your New Year with this one resolution: plan for tagging and using metadata to help you find, create, and repurpose content.

Workflow Matters

Before you start shooting photos or videos for an event, make your metadata and folder plan. As you ingest and transfer material from in-house producers or outside vendors, how will you tag groupings of images? By day? By event? By content? (Hopefully all of the above.)

If you regularly hire event photographers, go the extra step by paying them to make selects. The images will be much fresher in their minds than yours. (Your brain will still be full of event details and other follow-ups you need to make.) You still want to purchase the raw images.  But having those selects handy – and asking for a batch converted group as smaller jpgs for social — will make your post-event promotions go much faster.

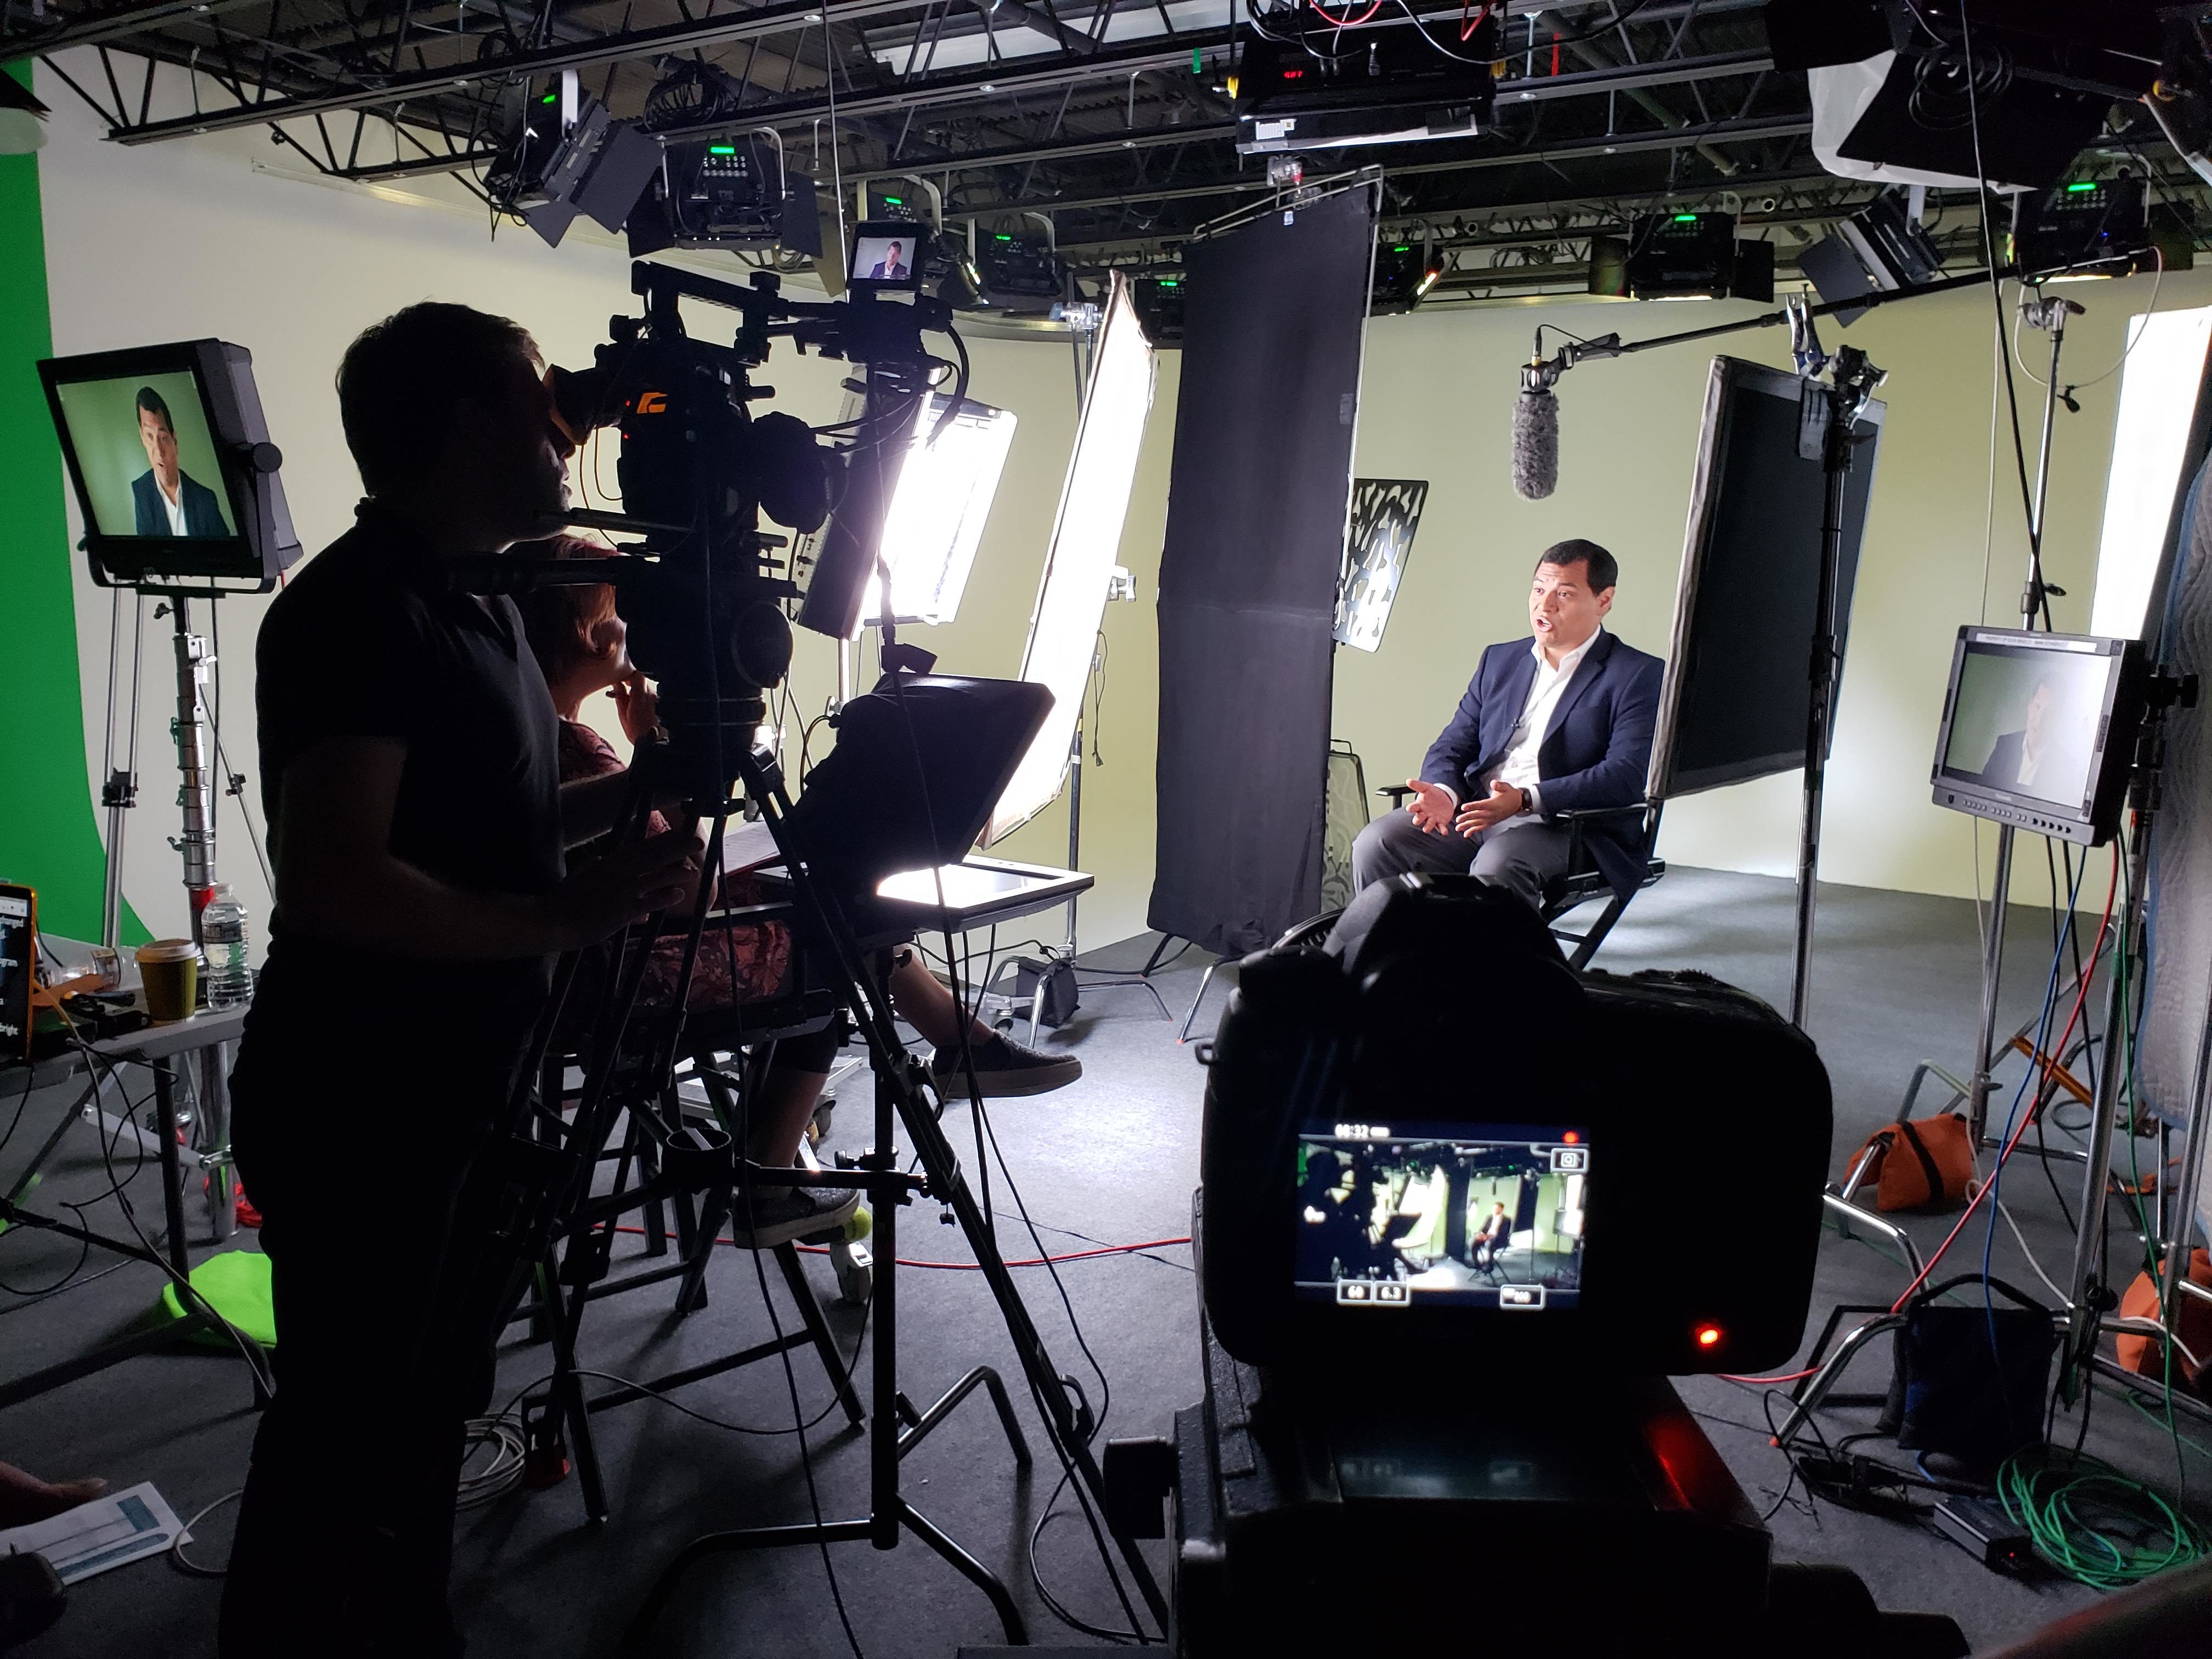
You also want to ask both photographers and videographers to tag their footage in a way that makes it easy for your team to use it later. If you don’t suggest the tags you want and need, trust me you will end up with drives with folders called “Day 1” “Day 2” “Day 3” etc.  So taking the time in pre-production to let your production teams know how you want cards ID’d will really help. And they’ll be happy to add more useful information such as “DallasINT_1” “DallasINT_2” for two days of interviews in Dallas.

For an event photographer, you could ask them to use a series like PLEN1, PLEN2, PLEN 3 for plenary speaker photos at a multi-day event.

If photos are being taken on cellphones, there are ways to both add to and access the metadata beyond those long strings of numbers and letters in the file name. This article offers some helpful tools for adding and finding phone metadata.

For photos or video that’s already been shot, you can also add metadata as you import it into your photo or video editing system. For example, in Premiere Pro, there are a number of built-in tools that let you harness the power of metadata. In fact, here’s a blog post with that very same name, explaining some of the steps!

So take a few moments this year to create a system for tagging content as you create it. And make this a cost-effective, creative and Happy New Year!

Frederick Van Johnson’s POV while he records us on his podcast This Week in Photo

I’m so honored to have been interviewed on #podaster @frederickvan amazing series This Week in Photo, the world’s most popular photography podcast network! We had a great discussion about creativity, filmmaking, and what it takes to be a multihttps://thisweekinphoto.com/-platform content creative. #podcasts #ageofconversation #contentcreator #storyteller #videoproduction #GALSNGEAR

Covid has changed video production, possibly forever.  Elements of remote workflows will likely remain, even when we “return to normal.” Let’s take a look at some options with respect to post-production collaboration (editing, audio mixing, color grading and effects).

Realtime Collaboration

Ensuring that real-time collaboration happens has always been a challenge as teams have become dispersed, and often include a mix of staff and freelancers. For years, we’ve had a remote-team setup in my production company, but have always liked being “in the room” for final edits, audio mixes and color grading. One tool that brings creatives “into the room” remotely is Streambox . Check out colorist Robbie Carman’s article on remote set-up using Streambox software for synchronous color-grading sessions with his clients. Sound designer and mixer Cheryl Ottenritter, of Ott House Audio also uses Streambox when offering remote synchronous client-supervised audio mix sessions. Cinesync, Evercast, Source Live and Session Link Pro all offer low latency, high quality synchronous reviews of video productions. Evercast also includes pre-Vis options, such as streaming Maya or other animation platforms. A slightly different post-production tool for the work-from-home user is BeBop.  This system was designed to help avoid costly individual hardware and software purchases, and allows the user to remotely access a powerful virtual computer in order to create VFX projects, edit media files, animate, process images, or collaborate in real-time.

Photo: Matthew Kwong, Unsplash

Frame Accurate Reviews

Other collaboration tools for reviews and feedback that were once “nice to have” are now becoming essential. Frame.io, Vimeo and Wipster all provide frame-accurate client reviews and the ability to share comments back to the team. I’ve been a personal fan of Wipster—that’s my affiliate link in the previous sentence–because I think they’ve been especially responsive to the needs and interests of the post community. Project management software such as Basecamp, Slack, and Teams is even more vital to keep teams and projects organized across different time zones.  I’m also becoming a fan of Milanote for sharing storyboards, vision boards, deliverables lists and more at the early phases of a project. Rich Harrington recommends using these kinds of tools, but reserving a Slack channel for quick-turnaround internal discussions that need to happen outside the channels with clients.

Wipster side-by-side comparison feature

Fixing Flaws, Speeding Up Delivery

While we are capturing some less-than-ideal footage these days, there are some fabulous tools to solve problems. Three great tools from Digital Anarchy can really help. The first is Flicker Free which removes flicker and rolling bands out of footage. The second is Samurai Sharpen, a plug-in that does just what it says–helps to sharpen out of focus footage. The third tool is Transcriptive, which will rock your world if you haven’t used it before with interview-driven content. I have other posts on this topic, so won’t delve into it today, but this plug-in transcribes footage, makes it searchable by words, and makes your captioning workflow a breeze.

Editing with Transcriptive from Digital Anarchy

Tapping Your Archives

I started my career delivering archival content to feature films.  And while the internet has certainly made digging easier, the process of tracking down rights holders can remain elusive.  Just because you find an image on Google doesn’t mean you can get the sync rights. And even images you source from a well-known archive like Getty may still require tracking down certain rights holders. If you need to source outside content, consider buying a package plan with the highest level of usage clearance, so you can use the shots for multiple projects. Shutterstock is currently offering several specials. And don’t forget national treasures like the Smithsonian Digital Archives and the National Archives collection, which often contain federally-created content that is free to use, or historical content that is no longer under copyright (but you still need to check!).

Remote video production isn’t as fun, frankly, as collaborating together in a room. But it’s workable. And some tools and workflows are improving quality and efficiency along the way.

Amy DeLouise is a writer and digital creative director working from home.  She has authored a variety of LinkedIn Learning video courses and a new book on nonfiction audio from Routledge Press.

Like you, I’ve been recording more “selfie” mobile videos and participating in more recorded Zoom webinars than ever. What I know from my work as a professional video producer is that better audio leads to better online engagement. People may forgive some wobbly video, but if the content is good and they can hear you clearly, they’ll stick with you. Have poor audio? Forget it. So here are a few tips from my last 60 days of remote recording. Wired mics have always avoided interference best, and can come at a fairly low price point for the home user. Producer Nicki Sun recommends the Power DeWise wired lav mic which runs at about $40. iPhone video consultant Kim Foley recommends customized solutions to her clients, including the Mosotech Omnidirectional Condenser Lavalier Mic, which at the moment is priced under $20. (Remember you may need adapters for iPhones.) If you can go up a bit in price, you can get good quality for less than $80 with the Rode Smart Lav/Condenser . If you need distance from your mobile device or computer, then wireless is the way to go. I just bought the Saramonic Blink500, which works with mobile phones, computers and tablets and cost about $200. It comes with a transmitter you can clip on your belt, and a receiver that plugs directly into your phone (available for Android and iOS).  I’m also a fan of the Samson Go Mic Mobile package, which gives you a wireless direct-to-mobile signal for under $200. If you are more often seated in front of your computer and want a podcaster-style setup, consider the Rode NT-USB podcast mic, which runs about $250. For significantly less, the Blue Snowball gives a decent sound–I just used mine to give a series of webinars on Zoom.

Blue mic works well for podcasts

Other Pro Tips for Better Sound From Home

If you are recording audio that really matters–say for a podcast or to be the recorded on your computer for a video, avoid hard surfaces and noisy appliances. That includes your computer, which has a fan that can affect your sound. Some talent who record professional voiceovers will go as far as recording inside a closet or anywhere with dampened sound such as a carpeted hallway if they cannot be in a sound booth.  When using VOIP (Skype, Zoom, any Voice Over Internet Protocol system) to record an interview, my friend producer Walter Biscardi recommends using e-Camm recorder software with Skype, and then making a backup audio recording direct to a digital audio recorder, such as the Zoom h4n. If you don’t have access to these tools, that’s OK. You can at least increase the data rate of the recording you make inside the VOIP system. On Zoom, that means checking the box that says “Enable HD” and “Optimize for Third Party Editor” whenever you are planning to record your session.  This greatly improves the data rate, and therefore the quality of the recording. My colleague and tech guru Rich Harrington, CEO of RHED Pixel, recommends making a “double ender” recording–in other words, not just the cloud recording that Zoom will make for you, but asking someone else on the call to hit their record button and make a local recording. Note that these video files will oddly be auto-saved into a folder under Documents (but at least it’s labeled Zoom!).

More tips to come on making mobile video and Zoom recordings. In the meantime, if you want more audio tips for your professional video productions, check out my new book Sound and Story in Nonfiction Film and Video.


This week I produced and directed a fun shoot for an international education association. What might appear at first glance to be a simple studio shoot  was really a multi-tasking day that allowed us to gather multiple content streams at once, for later multi-purposing.  Here are some of the elements we shot in less than 8 hours:

-5 interviews with a Canon 300 Mark II camera

-Secondary/side angle of all interviews w/a Canon DSLR camera on a slider

-6 direct-to-camera reads of a brief :30 appeal

-BTS (behind the scenes) video and photos

-Samsung Gear VR footage of our setup

-Hyperlapse time lapse footage of our setup

-Smart phone photos and videos of our day on the set

And now here are all the outputs we can achieve for this client: 

-A short video about the association for their website combining the interviews,  BTS footage, and other existing content from the association

-Social media sharing content using the BTS photo and smart phone content

-A Facebook video campaign using the direct-to-camera content

-An Instagram video campaign using the direct-to-camera content

-Interview transcripts that can be mined for quotes for website and newsletter sharing

-VR and timelapse content that can boost social sharing


Planning For Multiple Content Streams

Of course, this all takes advanced planning. You can’t accomplish multiple outputs without having the right people on your production team. You need to have a designated BTS Photographer and ideally a separate BTS Videographer.  These roles are different, but can sometimes be combined as long as you are clear about what you need from each format. You will also need a DIT–Digital Information Tech–who can be offloading, ingesting and verifying your footage and photo media cards as you go, because you will need to keep using cards throughout the day.  That person will also be meta-tagging your shots so you can find what you need for quick turnarounds later. Again, this person could have another role such as production assistant, but you had better be darn sure they really know what they are doing when it comes to media management. On some shoots I rely on my director of photography (camera op) to do this job, but then you have to wait until the end of the day. This means you need to purchase more media cards up front, since you won’t want to “blow them away” until you have ingested, duplicated, and verified all your footage. For a multi-camera shoot like the one we did this week, I did not want to distract my camera guy with that task, so we had our BTS photographer do it because she is also quite experienced at this DIT role. She also pulled up all our footage in a laptop version of Premiere Pro, our NLE (nonlinear editing) platform, so that we could check our colors “in the real world”.

Designing Your Workflow for Spoken Word Content

You’ll also need a workflow plan for your Transcripts. I like to use a real, human transcriber for long interviews or anything involving speakers with accents.  The folks at Noble Transcription do a great job. If you live in a town with lawyers, you can find a transcription service! For quick interviews, Speechmatics is an AI platform that does a pretty nifty job. You might have to correct things like acronyms, which it isn’t good at recognizing. I then import my transcripts into PremierePro using Transcriptives, a new plug-in from Digital Anarchy. Transcriptives attaches speech elements to every clip from the interview, allowing you to build your script, output drafts that everyone can review on paper, and output your final captioning.

Archiving and Future-Proofing

Really, the future-proofing comes in the planning stage. I like to shoot everything in 4K these days. That gives me enough lattitude to compress content for small screen delivery without compromising quality. It also allows me to crop images to 2K, giving me the ability to add a second “angle” without moving my camera.   It also gives me enough color space and pixels to crop unusual specs like the awful Facebook vertical, while keeping high quality color and resolution for larger-screen delivery.  Future-proofing also means ensuring that you have permissions “in any and all media” from all your participants, so you don’t have to go back to them every time you change your output. You also will need to get the right licenses for any music or stock images you add into your final products.  As far as archiving goes, we really don’t know what the next digital medium will be, so the best policy is to save all your content in its highest quality form, without any added text or soundtracks. This will allow you to continue multi-purposing well into the future.

I’ll have a new LinkedIn Learning course on this subject soon, so watch this space for updates!


fb_img_1480992569003_resized

Maryann Brandon, editor of STAR WARS, discusses visual effects edit workflow.

I just got back from China, and the nascent NAB Shanghai conference, where I was moderating the Global Innovation Exchange thought leaders event. The sessions on 4K, UHD, and 8K were packed. Speakers talked about how they are building new audiences through OTT, and how they are developing storage and workflows for complex, multi-platform delivery.  And not surprisingly, the VR track was packed with speakers presenting on this new and evolving format.

But what really impressed me was the focus on STORY. Yes, we need ways to move massive data packets around for a consistent streaming and viewing experience. Yes, we will continue to improve picture resolution and screen quality. Yes, we will continue to evolve the immersive experience. And yet we know that what leads to success—whether of a social platform, a webisode, a feature film or a game–is a good story. Characters that are memorable. Authentic moments that make us laugh or cry. A connection to emotions that make us return and share, again and again.

Maryann Brandon, editor of STAR WARS: The Force Awakens, STAR TREK: Into Darkness and the new release PASSENGERS, talked about how through all of the special effects, her focus is always on story.  If the story isn’t working, effects are not the answer.  Her goal and that of the film’s director is always to make an emotional connection with the viewer. Michael Uslan, the producer of the DARK KNIGHT, THE LEGO MOVIE, and many other films, TV series and games, spoke about what compelled him to cobble together the financing to buy the Batman franchise while still in his twenties: “Batman’s greatest superpower is his humanity.”

This could be said of our entire media-TV-film industry. We are of course always taken with technology. Technology enabled us to create the first photographs, the first talking pictures, and the first color films. Technology brought the moon landing into every living room and built the networks that allow CNN to report from around the world. And now technology is bringing us social media experiences, virtual reality programming and AI characters. The future is exciting.

But technology without humanity is nothing.  So as I watched speakers from around the world sharing and learning from one another, talking about the kind of stories that truly engage, I was encouraged. Through all the high tech, we must keep our focus on the stories worth telling: those all around us, and those we have not yet imagined.

***

On my way to Shanghai, I stopped over in London for the IABM conference with broadcast manufacturers.  Here’s my talk on the challenges of Transmedia Production.


DeLouise teaching at NAB

I love speaking at NAB Show!

I’m looking forward to seeing old friends and meeting loads of interesting people at #NABShow in Las Vegas this year! If you’re trying to track me down, here are a few of my plans:

Saturday, April 16th

After a business breakfast, I’ll be off to get my credentials, to see how our #GalsNGear event buttons turned out (12,000 of them at registration desks!) and be sure our T-shirts got delivered to the store. Yes, guys are invited, too. See details under Tuesday below. Then for the afternoon I’m speaking at Post|Production World on Knocking it Out of the Park as a #SetPA an In-Depth Session on Essential Business Skills for the Freelancer. Then it’s off to an annual get-together convened by the ever-amazing editor Nicole Haddock.

Sunday, April 17th

I’ve got an early launch to speak at 8:30AM on Stress-Free Productions: Managing Clients and Executive Producers.   Then I’ve got a little gap, so if you want to grab coffee or an early lunch (love the little Indian place in South Hall) that would be great! Then it’s off to speak all afternoon at PPW: Career Transitions for CreativesSo You Want to Produce. Then it’s off to some private parties and one of my favorite Vegas shows, Jersey Boys.

Monday, April 18th

This day is gonna be fun but tiring. I’ll be speaking with @Adryenn and @RodHarlan in an All-Day Social Media Symposium ! Then it’s off to moderate a panel on a subject that’s important to me Creating Inclusive Work Environments with Douglas Spotted Eagle, Gayle Hurd of the National Association of Black Journalists, Sarah Serrano of Veterans in Film and Television.  Then it’s off to Media Motion Ball!

Tuesday, April 19th

This is gonna be quite a day. I hope you can join me in the morning for some coffee and donuts provided by Black Magic Design at the first #GalsNGear pop-up event, livestreamed by Broadcast Beat. Then I’m off to speak at PPW again: Budgeting Basics for Video, Putting Real People on Camera — a topic so dear to my heart I wrote a book about it! I’ll head over to the NAB Bookstore for a book-signing (please stop by! invite friends!) for The Producer’s Playbook: Real People on Camera. Folks in my classes will get special DISCOUNT passes during NAB Show! Then I’ll head back to North Hall to moderate a panel on Breaking Into the Industry with Christine Steele, Katrina Deleon of Production HUB, Ashley Kennedy of Lynda, Paul Murphy and DP Joseph DiBlasi. Boy will that be an interesting conversation!  If I haven’t lost my voice yet, then I’ll see you over at Supermeet or maybe the Killer Tracks party.

Wednesday, April 20th

My day starts with being a guest on NAB Show Live! with host Janet West tackling gender balance and #womeninfilm with some terrific colleagues I’m looking forward to meeting. Then, hmmm, should I head over to the show floor or take some chill time at the pool? Perhaps a bit of both. I’ll catch up with some Lynda.com friends and colleagues Wednesday for cocktails, then I’ll be headed to dinner. (Any great ideas? I do promise to repost my off-strip Vegas restaurant favs blog post, but always looking for more out of the mainstream rec’s.) I don’t head out until late morning Thursday, so it could be a late night!

I look forward to connecting with you in Las Vegas or at another content event this year!


Amy DeLouise is a Director/Producer/Author and Speaker at NAB Show among other industry events. Her new book The Producer’s Playbook: Real People on Camera is out tjhis week from Focal Press.


labyrinth copyright B.DeLouiseThanks to digital photography, organizations now have millions of photos to use in their promotions, websites and videos. But a photo is only useful if you can find it! As a video producer, I’m often fishing through massive files of photos labeled IMG1024 etc., trying to find just the right shot. Here’s a way to avoid that hassle and expense:

  1. Assign a Photo Guru. Even if multiple departments use and shoot photos, make one person responsible for your photo management system, and your tagging process. This person should create a cheat sheet for item 3 below.
  2. What Gets Measured Gets Done. Set a target for each quarter tied to institutional goals. Metrics might include not simply the number of photos to labeled and archived but how you are making them accessible to multiple departments/users/members/donors and how often they are getting reposted and linked back to primary content.
  3. Use Metatags. When an event is over, ingest all media cards and batch rename the files (while checking the box for retaining old metatag info) with the name and date of your event. If you hire professional photographers, give them the names you want to assign to each event or each day of a multi-day event. Your tagging work is not complete, but at least you have a good start. Most photo archiving systems will allow you to add other information such as who is featured in the photo and other keywords.
  4. Be Clear and Consistent. Don’t label your Los Angeles Gala photos “LAG” one year and “LA Gala” the next. In five years, no one will be able to find the LAG photos.
  5. What’s Old is New Again. From #TBT posts on social media to anniversary videos to website timelines, old photos get new life. Organizations that have been around since before digital will need to scan (at 200dpi minimum) old photos so that they can be re-purposed for web, social media, video, print and live event uses. This is a great job for a summer intern! But the intern will need to speak with the Photo Guru, above, so s/he understand key categories, institutional themes. Provide a handy photo “crib sheet” of important people for reference.


Amy DeLouise is a video producer/director who often finds herself slogging through unlabeled photo archives in search of the perfect shot!

Social media writing challenges us all. So many platforms, so little time! Keeping a few easy tips in mind can help you focus on big picture goals.

  1. Be Yourself. Write the way you talk. Share what you think. Be authentic. If you write for an organization, be authentic to the character of the organization.
  2. Share Others’ Stories. Don’t only write about yourself, your work, your company. Share success stories of colleagues, clients, or industry innovators.
  3. Be Relevant. Post about issues that are current and trending. Look for hashtags to use that help your content break through the clutter and get reposted.
  4. Repurpose. Some content is too topical. But lots can be repurposed. A 5-minute live event video can be cut down into a 30-second webisode. A 7-second time Behind the scenes photos can accompany a tweet. Rework, reuse, recycle! Oh, and please make your media findable internally in your organization–label photos, put them in recognizable folders, metatag footage with names that people outside your edit suite can understand.
  5. Time it. Not every post will get equal views, depending on the time you post it. Weekend viewing is best for longer video clips. Late afternoons, later in the week will get you more forwards and shares. Post test messages on your favorite platforms and see what works best for your social community–each one is slightly different.


Amy DeLouise is a writer and video director working in short-form nonfiction that gets distributed at live events and via social networks. She speaks and writes regularly on challenges and solutions in communications, branding and video production. See her slides on social media from her workshop at #GVExpo on the speaker tab of this site.

LyndaAmyInterviewingCoupleYou’re on deadline and need a great sound bite from your boss for the new podcast. Or you’re building a long-form documentary and are interviewing an expert. Or you’ve got five minutes till broadcast and are trying to get a moment with a VIP. Whatever kind of interview you are producing can be made a little easier with a few simple techniques.

  1. Make Your Subject Comfortable. It seems obvious, but often the interviewer is distracted by the crew chatting, the room getting uncomfortably warm, and the fact that, oh, a Camera is Pointed at Their Head. New low-heat lights prevent sweating, thank goodness. But there are many other little touches to keep an interviewee comfortable: hide as much equipment as necessary (I use silks in larger spaces, or just put things away in cases or adjacent hallways in smaller ones); place water on a small table at arm’s reach; Smile when you ask questions (unless you’re on 60 Minutes). And–not for the faint of heart–consider interviewing the person while they are doing something (working, driving, walking), since most people don’t just sit still and talk. These little things will go a long way towards making your subject feel and speak more naturally on camera.
  2. Familiarize Yourself With Content. Again, it seems obvious. But I can’t tell you how many times I hear an interviewer ask a basic question that they should have researched in advance. The result is your subject now thinks you’re an idiot, and you aren’t going to get the story you really wanted. Oh, and stop looking at your notes! Memorize them. Focus on making eye contact.
  3. Find Out Your Subject’s Learning Style. With a few quick questions in your warm-up chit-chat, or by watching previous interview footage, you may be able to discern whether or not your interviewee is a visual, auditory or kinesthetic learner. Why does this matter? Because the way you ask questions to each should be slightly different, and the kinds of answers you will get will be much richer and more useful when you do. More on this in my Lynda course The Art of the Interview.
  4. Plan a Story Arc, Be Prepared for Something Else. Ideally, your interview will follow a narrative arc. Within this arc, you’ll be gently guiding your subject along the path of the central story for your video—the introduction, the central theme or challenge, and the conclusion. Along the way, there will be meanderings, of course. But if you map out the story – not just bullet points for questions–you’ll be that much closer to building a better final video.

If you’re attending NAB this year, I’ll be presenting an In-Depth Session with the talented Director of Photography and Producer Eduardo Angel on How to Capture Great Interviews.  We’ll cover equipment, lighting, camera position, as well as interview techniques. We hope to see you there!